Need to record a RingCentral webinar or video meeting?
If you’re planning to host a webinar, chances are, you’re already clued into what an excellent lead-generating workhorse it can be. A webinar, which can cost anywhere between $100 and $3,0001 to make, is going to be well worth every single penny you spend on it.
But to truly make the most of a webinar’s marketing potential, you need to record it.
Why?
So you can email the recording to your attendees and to people who couldn’t make it. Also, you can repurpose it as a downloadable lead-magnet for months (years, even—if your content is evergreen) after the actual event. And finally, you can study the recording to improve your presentation for the next time.
How do you do it, though?
In this article, we’ll cover:
- How to record a live webinar
- Ways to record a webinar for free
- How to make a pre-recorded webinar
- How to record a webinar presentation
Need a webinar presentation template? Grab this free editable template, with nine custom slides, that our Design whipped up with ❤️:
How to record a live webinar
There are many ways to record a webinar for later viewing. You could use any one of a great selection of apps out there that give you plenty of flexibility and editing options.
If you’re strapped for cash and don’t really need to edit your clip, you can probably create webinar recordings in a relatively easy way with the tools you already have.
Depending on the webinar tool you’re using, you might have recording features built into the app.
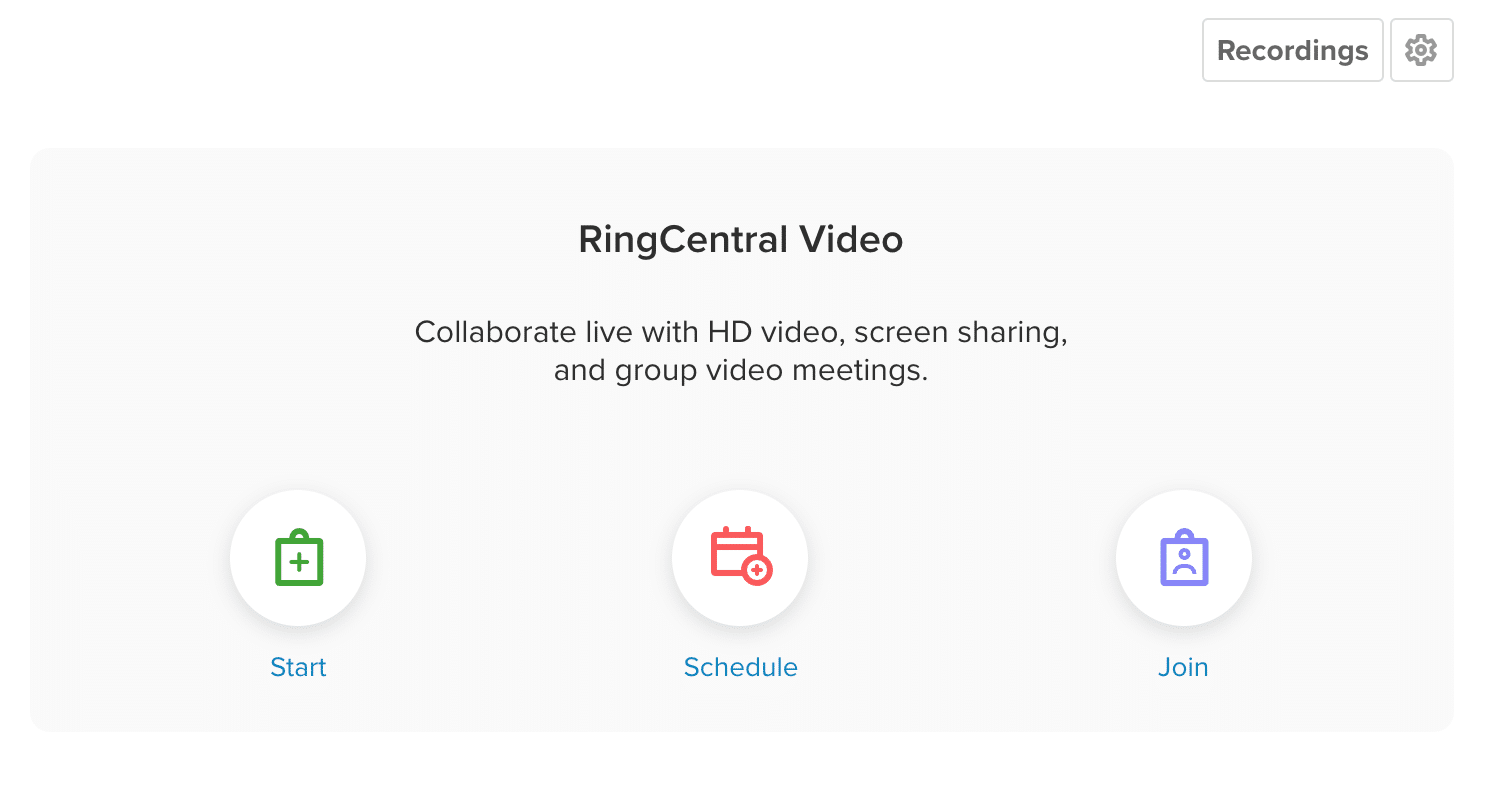
For example, in RingCentral Video, you have a “Record” icon right on the screen. You also have the option to pause or stop the recording while the webinar is going on:
The recording automatically stops when the webinar ends, and the session is saved as an .mp4 file. You can then retrieve the file from the Recordings” button on the Video pane of the app. This is available for webinar hosts and moderators on desktops, for both Mac and PC:
Of course, if your app doesn’t provide you with this option, or if you’re an attendee looking to make a simple recording for yourself, there are free options as well.
Other ways to record a webinar for free
How to record a webinar on a computer
1. How to record a webinar on a Mac
Mac users can use the shortcut “Shift-Cmd-5” on their keyboard to access their screen recording controls:
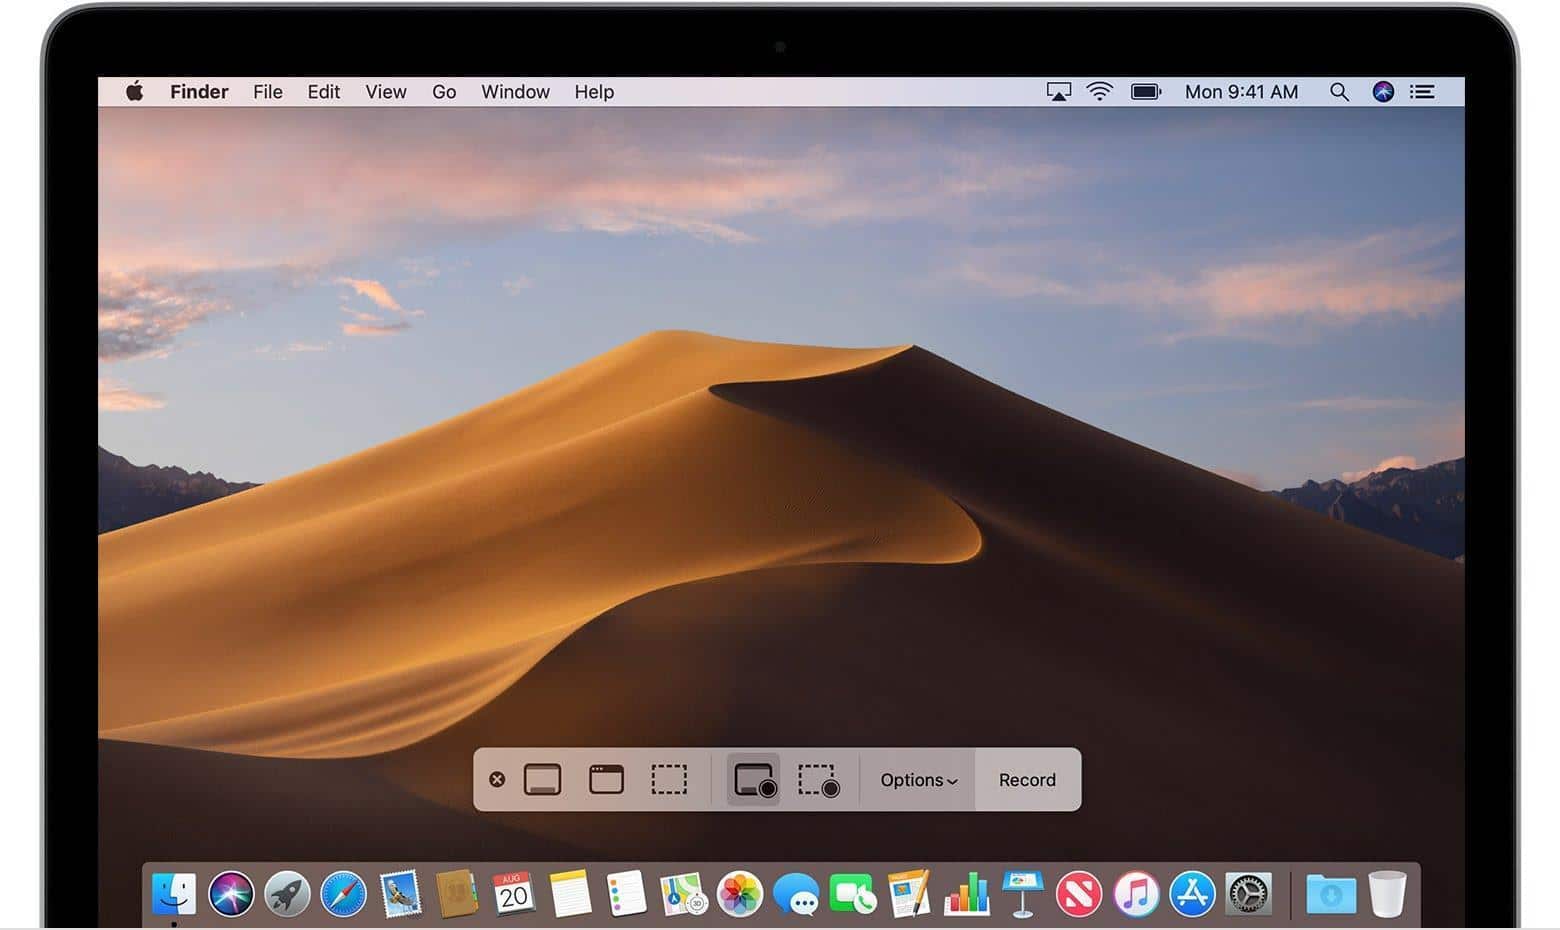
The onscreen controls allow you to select whether to record the entire screen, record a selected portion, or capture a still image of your screen. This is available on the Mojave operating system (OS).
If you’re using an older Mac OS, you can always use the QuickTime app to record your screen. Access it from your Applications folder, then go to “File > New Screen Recording”.
Next to the red record button is an arrow that allows you to select your microphone.
Click anywhere to begin recording the entire screen. To record a specific portion of the screen, click and drag to select an area. Then, click “Start Recording” within that area:
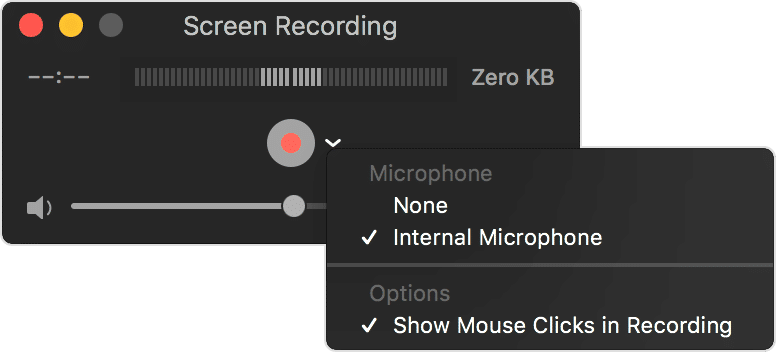
Source: Apple Support
Voila! You can record everything that happens within the rectangle you have selected.
2. Can you record a webinar on a PC?
Windows has a built-in recording feature in the pre-installed Xbox app. It appears on the Game Bar. (If you don’t have it, you can download it.)
Go into “Settings> Gaming” and make sure that the slider under “Record game clips, screenshots, and broadcast using Game Bar” is turned on:

Then, use the shortcut “Windows-G” on your keyboard and click “Yes, this is a game”.
Click ”Start recording”. You can use the shortcut “Windows-Alt-R” to start and finish the recording. Recorded videos will be saved in your Videos/Capture folder in an .mp4 format.
Game Bar records only one application window at a time. Also, you can’t switch recording windows after you start recording. Another downside is that it won’t let you record your whole screen. This can be quite limiting.
This tool is meant for gaming, and it might not entirely serve your purpose. Make sure you try out the recording feature during your webinar’s dry run, well ahead of time, so you have enough time for a Plan B.
🕹️ Get a hands-on look at how RingCentral works by booking a product tour:
💰 You can also use this calculator to see roughly how much your business could save by using RingCentral to support your team’s communication with each other—and clients.
3. More tools to record webinars
For most purposes, the methods listed above work well enough to help you record a webinar at low cost. But if you’re looking for a slicker screen recording solution with more powerful features, or if you’re looking to edit your webinar after recording it, Camtasia is a tool that’s well worth the money. It comes handy if you’re looking to make webinars and videos a strong part of your strategy.
Camtasia
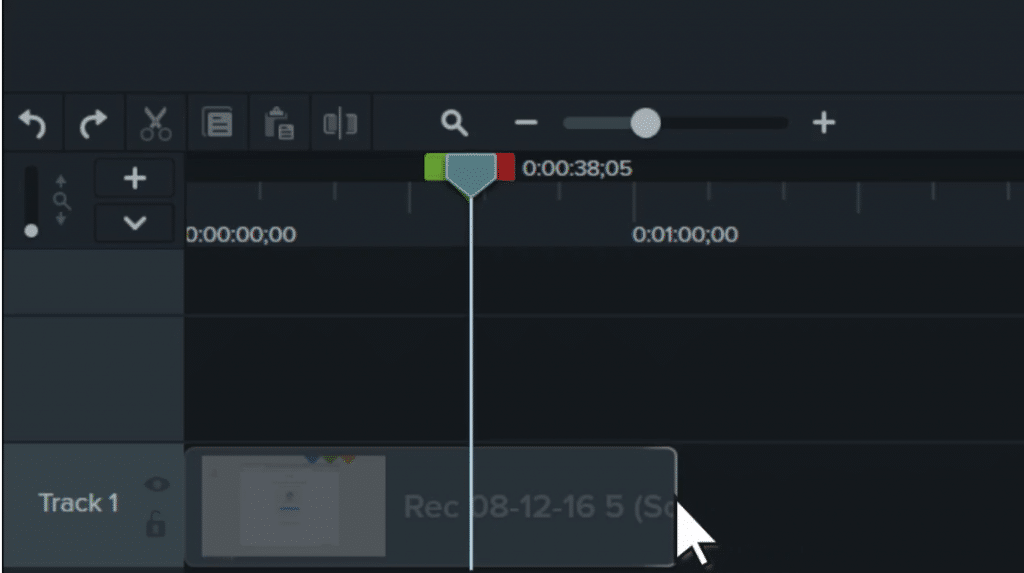
Camtasia works beautifully on Mac and Windows, offering you features you never knew you’d need from a screen recording software. It allows you to record your screen and webcam, add effects and background music, edit your video, and insert titles, annotations, and callouts.
If you find yourself creating videos very often, you’ll find its video templates useful for simplifying your video creation workflow and ensuring consistency in all your videos:
OBS Studio
If you’re not in the mood to spend on an extra tool, OBS Studio is a free, open-source software that allows you to record your screen or stream it online. Again, this is a tool favored by gamers, but it comes with a lot more flexibility and additional features. There is definitely a learning curve involved, but it’s worthwhile to learn how to use it.
How to record a webinar on your phone
1. How to record a webinar on your iPhone
If you want to record a webinar on your iPhone, you’ll first need to access the “Screen Recording” button directly from your control center. Go into “Settings > Control Center” to add “Screen Recording” to your control center, if it’s not already there.
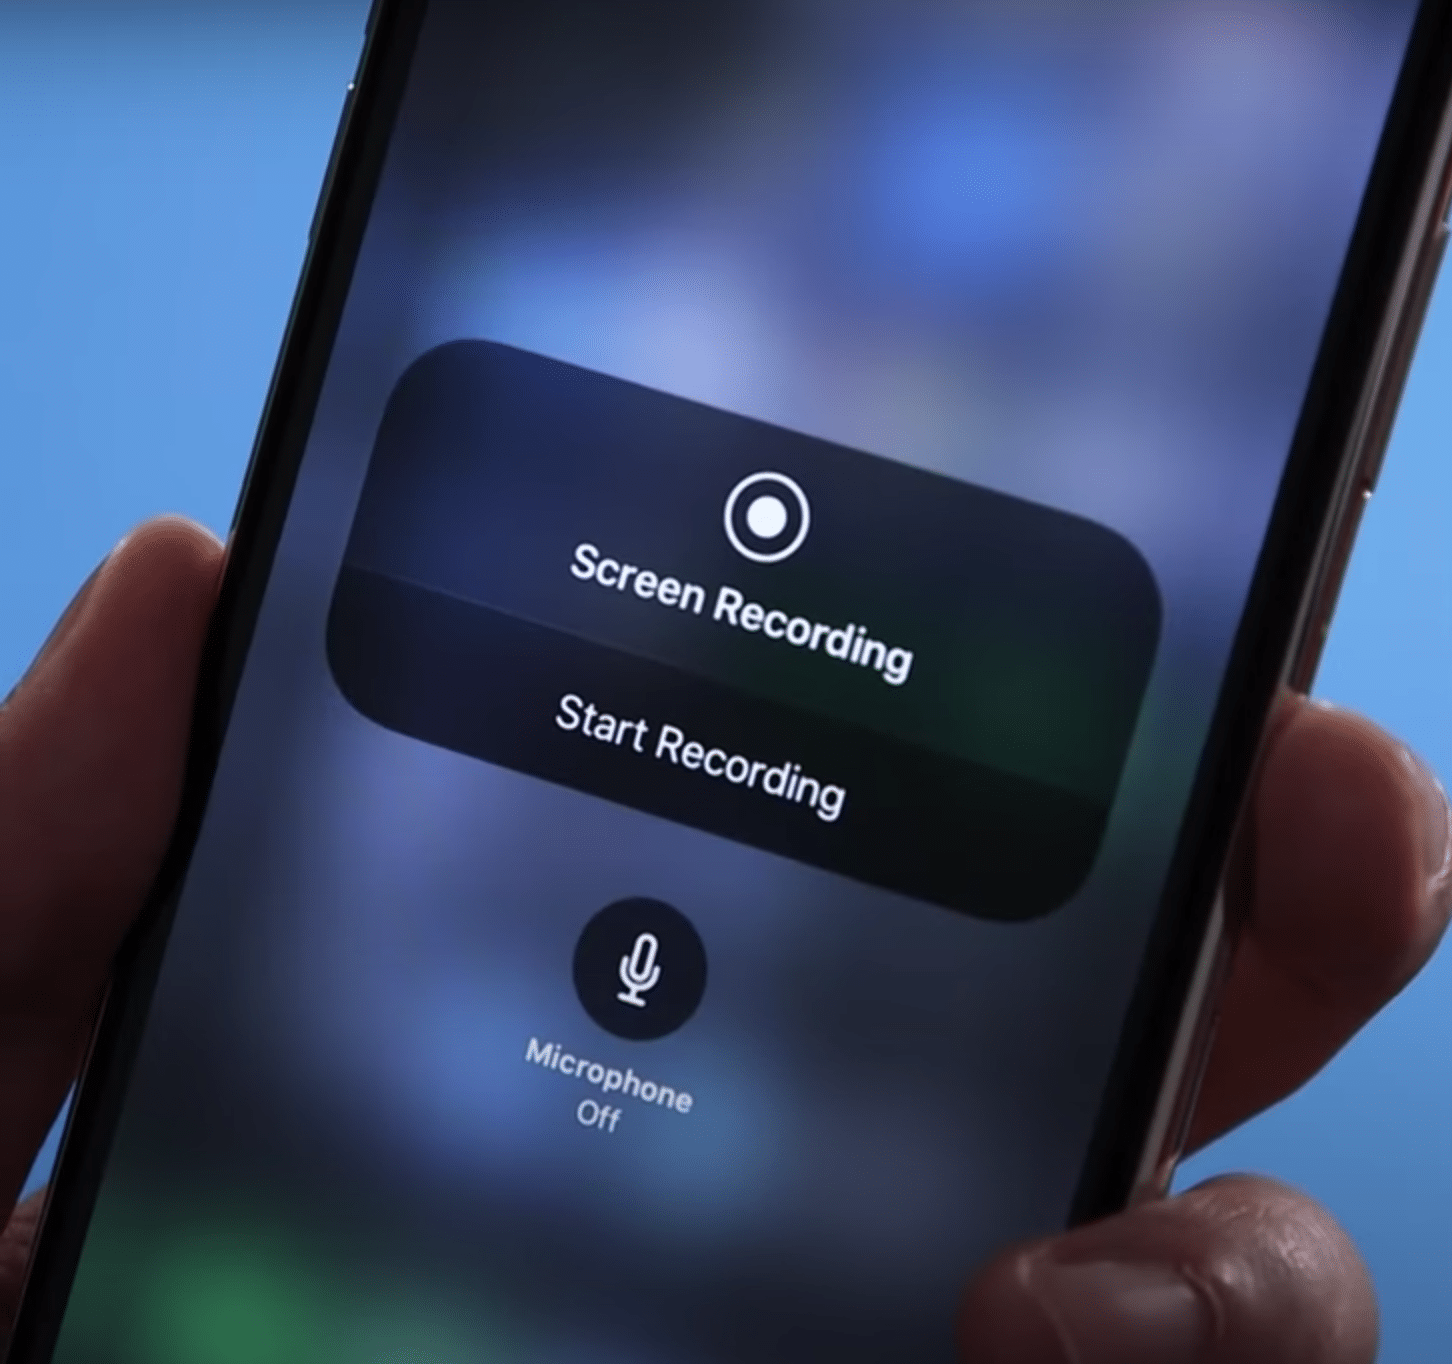
Then, start recording, flick the switch to turn on the microphone, and go on to join your webinar.

You’ll see a red button in the corner that indicates that it’s still recording.
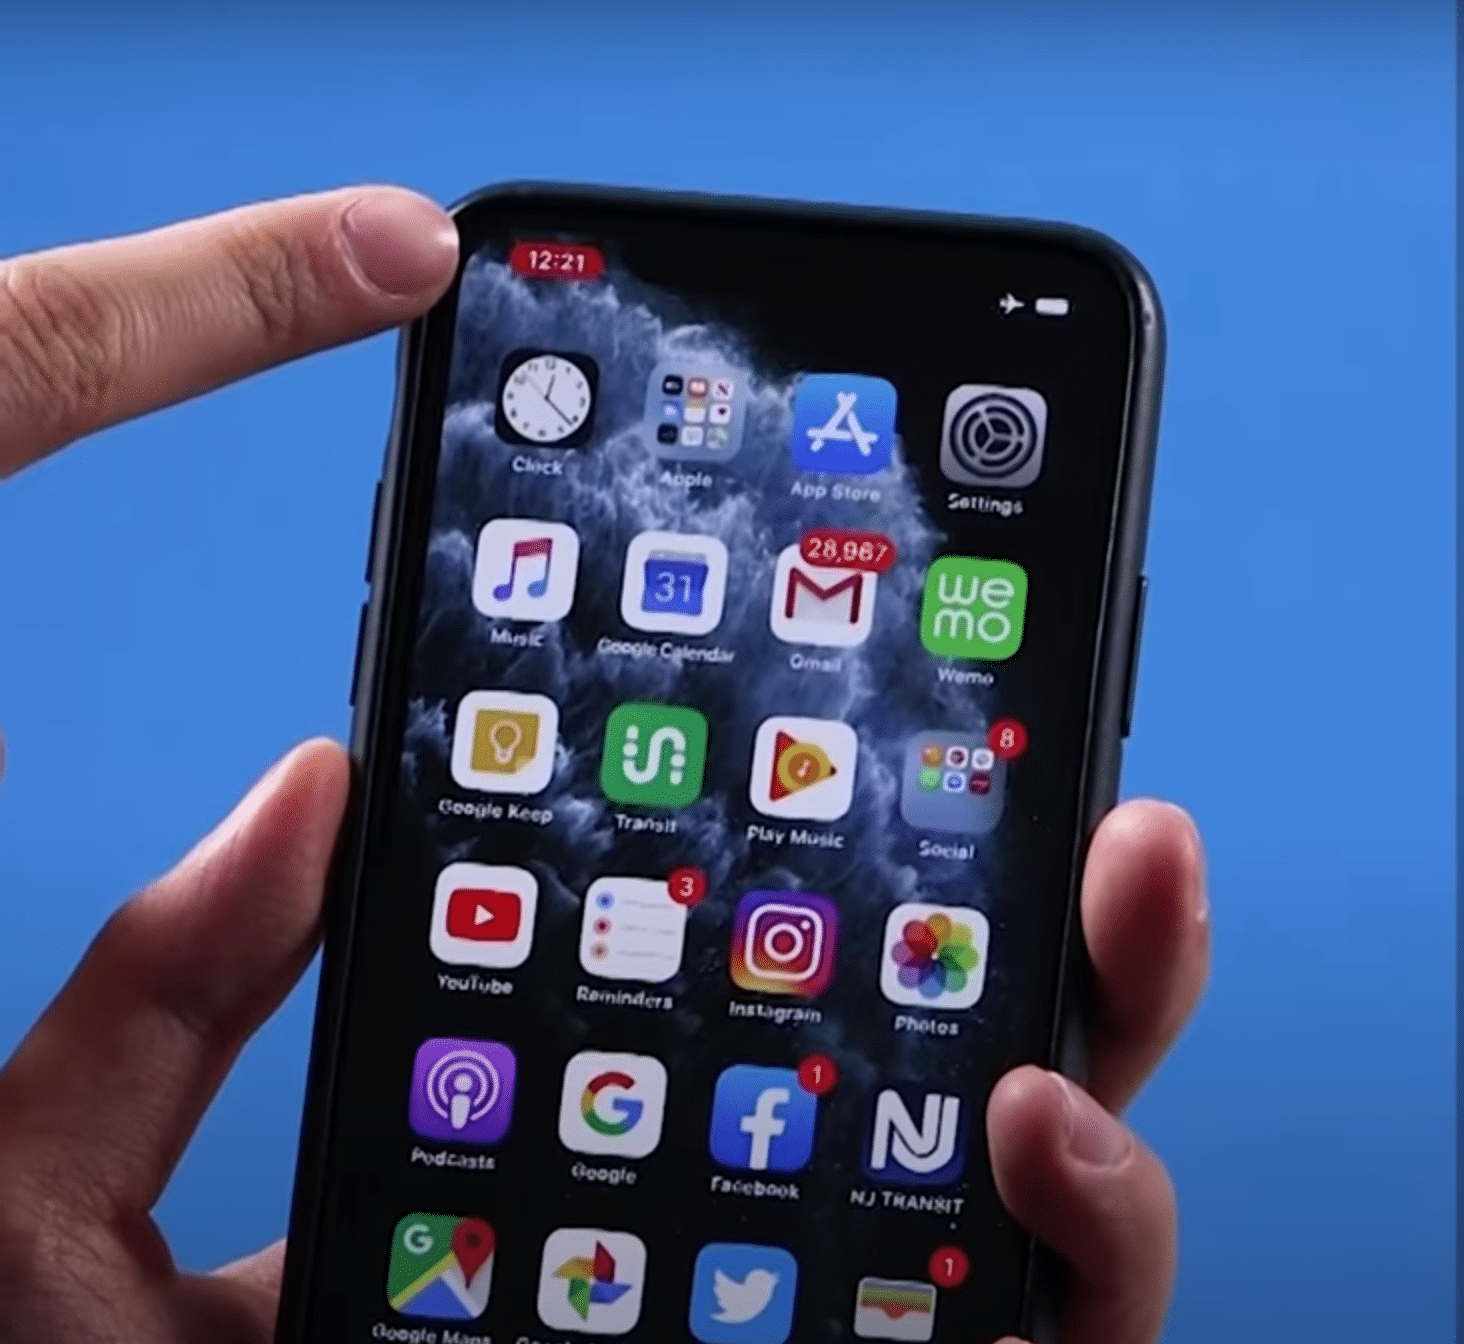
Your video will be saved in “Photos.” If your webinar is quite long, you might want to make sure you have enough memory on your phone to save the entire webinar. Here’s a full video of how to do this:
2. How to record a webinar on your Android phone
The best way to record a webinar on your Android phone is to use an app. (Mobizen Screen Recorder and XRecorder are two good options.)
Mobizen Screen Recorder is free, but the only thing is you won’t be able to record a webinar without the watermark appearing on the screen. This might be acceptable if you’re just looking to record webinars as an attendee. But if you’re looking to market the videos, or looking for more features and flexibility, you’ll need a paid tool.
How to make a pre-recorded webinar
Pre-recorded webinars are a great alternative to live webinars. They’re pretty easy to produce and allow you to edit and “clean up” your presentation before it’s ready for the eyes of your audience.
You can use the recording options mentioned above to create a video and use a free video editing software (like OpenShot, Lightworks, or Movavi) to put it together.
You can even use Camtasia or OBS Studio for the same purpose, if you have the tool at hand.
How to record a webinar presentation
If your webinar is a PowerPoint presentation, then you can just use Microsoft PowerPoint’s “Screen Recording” option in the “Insert” tab:
You can record the slideshow along with yourself speaking at the same time. PowerPoint allows you to enable audio and your cursor while recording in the pop-up menu. It’s a great, no-frills way to create a pre-recorded presentation.
Make recording webinars a breeze
Technology is great, but not perfect. If you’re recording a webinar for the first time, be sure to practice and experiment with the tools and options given above, well before the day of your presentation (or pre-recording). This way, you can make sure that there are no hiccups.
Happy recording!
1 blog.bigmarker.com/12-important-webinar-statistics
Originally published Apr 01, 2020, updated Nov 04, 2024


