RingCentral Webinar
Run your town halls with ease

Easy setup
Simple participation
AI-powered
Controlled settings
Pick the perfect plan


Everything you need to host impressive town halls, trainings, and more
Everything you need to host impressive town halls, trainings, and more
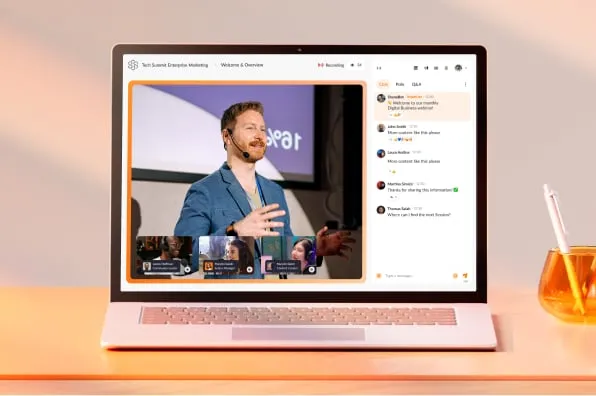
Attendees get one simple link that allows them to join via mobile or desktop — no download required.
Stay connected with panelists and attendees engaged with chat, polling, emojis, and Q&A.
Automatically schedule rehearsals before going live, and easily bring panelists together to debrief in private after the webinar.
Engage with your audiences by bringing them on stage to comment or ask a question live.


Drive registration and maximize attendance


Drive registration and maximize attendance
Add your company’s logo and branding with simple drag-and-drop functionality to your registration forms.
Gather valuable insight into your attendees’ interests by adding customized questions at the registration stage.
Track performance, review participant statistics, and get insights, with intuitive reporting and analytics from the host panel.
Maximize audience attendance with automated reminder and follow-up emails, and easily share recordings of your webinars and trainings.
Make webinar set up and execution even easier and more inclusive using AI.


Q&A in any language

Streamline Q&A responses
Dive into the details
Explore more ways to work together